How Do You Fix Scratched Kitchen Floors Comprehensive, Value-Driven Restoration Playbook
Scratches on kitchen floors are a universal friction point for homeowners—impacting aesthetics, safety, and long-term asset value. Whether the damage stems from pet activity, chair drag, or everyday foot traffic, the remediation pathway must be strategic, surface-specific, and aligned with high-efficiency home-care standards. This guide delivers an end-to-end framework to help you restore your flooring with precision while staying ahead of future wear cycles.
1. Understanding the Types of Scratches and Floor Materials
Before deploying any restoration workflow, you need clarity on two variables:
(a) the severity of the scratch
(b) the floor material
Common categories of damage include:
- Light surface scuffs: minor marks affecting only the topcoat
- Moderate scratches: visible indentations penetrating deeper layers
- Deep gouges: structural-level abrasions requiring advanced repair
Popular flooring materials include:
- Hardwood
- Laminate
- Vinyl
- Tile
- Engineered wood
- Stone/composite floors
Each material demands its own remediation stack, so understanding your substrate is the first strategic checkpoint in the process.
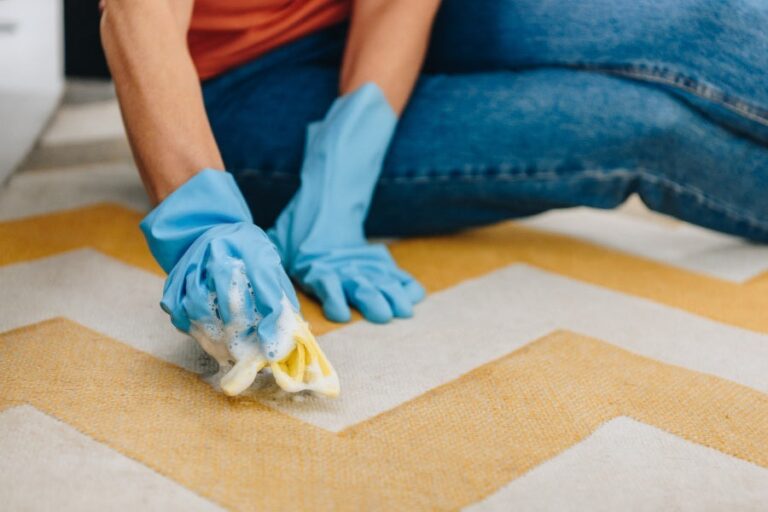
2. Quick Wins for Light Surface Scratches
Minor damage can often be resolved through fast, low-friction solutions that maintain workflow agility.
Recommended rapid fixes:
- Microfiber buffing
- Floor-specific polishing compounds
- Mineral oil or paste wax application
- Magic erasers for vinyl or laminate surfaces
These techniques help you reestablish surface clarity without disrupting your broader kitchen ecosystem.
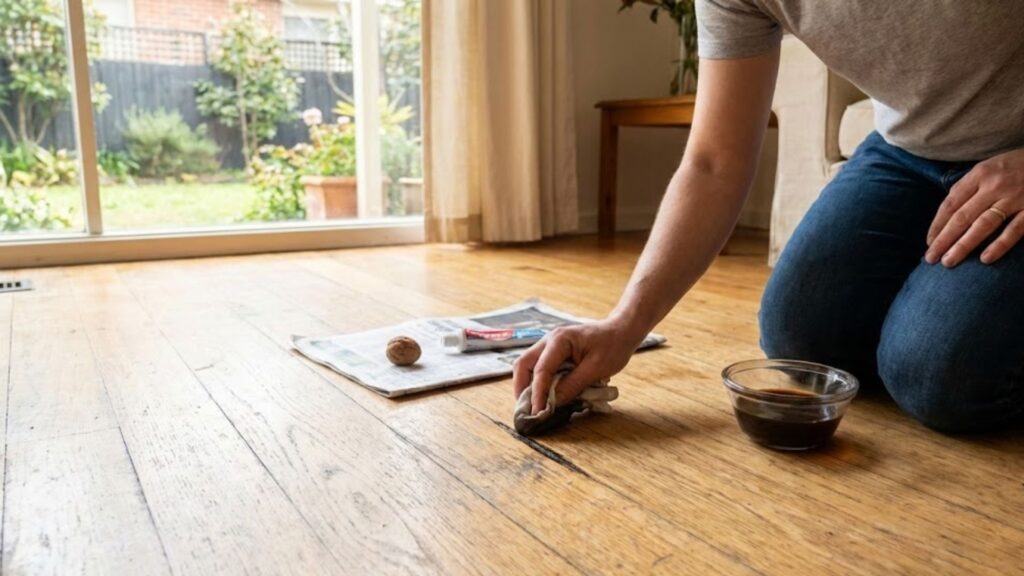
3. Strategic Fixes for Hardwood Floor Scratches
Hardwood demands a more curated, material-sensitive approach.
Tactical Options:
- Wood stain markers: Ideal for color blending on small scratches
- Walnut rubbing method: A natural workaround for micro-abrasions
- Sanding + refinishing: For wide-area damage
- Screen and recoat: A mid-tier intervention for floors losing their sheen
Hardwood restoration is an investment in long-haul aesthetics and property equity, so precision is essential.
4. Restoring Laminate Flooring Without Causing More Damage
Laminate doesn’t tolerate sanding, so the recovery roadmap must be controlled and low-impact.
Effective approaches include:
- Laminate repair kits
- Color-matched putty
- Replacement of individual planks (for serious damage)
Since laminate is bonded with protective coatings, targeting the issue without breaking the seal ensures long-term structural stability.
5. Repairing Damage on Vinyl Flooring
Vinyl floors respond well to targeted treatments because of their resilient wear layers.
Try the following:
- Heat gun blending for shallow scuffs
- Vinyl repair compounds
- Click-and-lock plank replacement for serious gouges
Vinyl’s modularity makes it a high-agility material for scratch repair workflows.
6. Addressing Tile Floor Scratches (And Why Prevention Matters)
Tile is one of the most scratch-resistant materials, but surface marks can still occur—especially on glossy ceramics.
Solution sets include:
- Polishing compounds for ceramic
- Honing/polishing for stone
- Reglazing for severely worn areas
While repairing tile scratches is feasible, preventing them is even easier. Many homeowners upgrade adjacent surfaces—like kitchen backsplash tiles—to create a more cohesive, scratch-resistant design ecosystem that enhances kitchen longevity.
7. Incorporating Smarter Material Choices for Long-Term Protection
Optimizing your floor repair strategy often goes hand in hand with evaluating overall material sourcing patterns.
Homeowners exploring resilient flooring options frequently extend their research to digital marketplaces, leveraging consumer-first platforms where they can conveniently shop tiles online. This unlocks access to competitive pricing, broader catalogs, and next-generation material alternatives that withstand high-traffic environments better.
8. Why Material Knowledge Shapes Better Restoration Decisions
Deep scratch mitigation becomes dramatically easier when you understand how different materials respond to pressure, coatings, moisture, and heat.
This is why interior specialists emphasize the importance of understanding different tile types. The same logic applies to flooring—whether you’re selecting hardwood with UV-cured finishes, luxury vinyl planks with thicker wear layers, or ceramic tiles with improved glaze hardness. Better knowledge drives smarter upgrades and reduces scratch incidents over time.
9. Proactive Practices to Prevent Future Scratches
Future-proofing your kitchen floor is all about operational discipline and high-intent maintenance.
Adopt these forward-thinking habits:
- Use felt pads under chairs and furniture
- Place mats in high-traffic zones
- Keep pet nails trimmed
- Clean spills and grit immediately
- Invest in periodic recoating for hardwood
- Avoid dragging heavy objects across the floor
These small adjustments generate disproportionate long-term ROI by keeping your surface layers intact.
Conclusion Elevate Your Kitchen Floor Care With a Future-Ready Approach
Scratched kitchen floors are not just cosmetic setbacks—they’re operational inefficiencies that erode long-term value. By understanding your floor material, selecting the right repair method, and adopting proactive maintenance practices, you can restore your floor’s visual integrity while extending its lifecycle.
With the right strategy, your kitchen floor becomes a durable, polished asset that supports both design aesthetics and day-to-day functionality.
Disclaimer
The information provided in this article is intended for general informational and educational purposes only. While every effort has been made to ensure accuracy, flooring materials, finishes, and damage conditions vary widely, and the repair methods discussed may not be suitable for every situation. Improper use of tools, chemicals, or repair techniques may result in further damage, void manufacturer warranties, or cause personal injury.
Before attempting any floor repair, always consult the flooring manufacturer’s guidelines, product instructions, or a qualified flooring professional. The author and publisher are not responsible for any damage, loss, or injury resulting from the application of the information contained in this article. For extensive damage, high-value flooring, or uncertainty about the repair process, professional assessment and repair are strongly recommended.