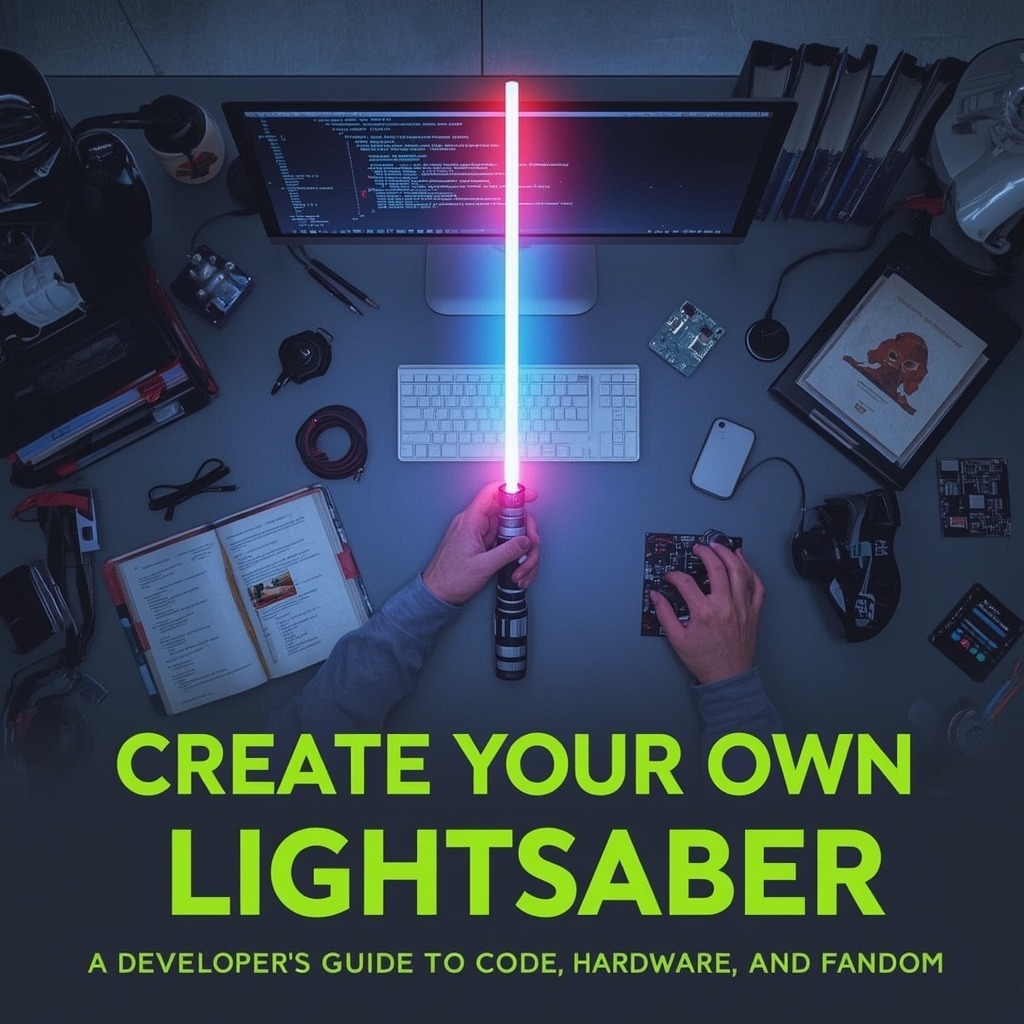
Create Your Own Custom Lightsaber: A Developer’s Guide to Code, Hardware, and Fandom
The lightsaber is one of the most iconic weapons in science fiction. For decades, Star Wars fans have dreamed of holding their own glowing blade, complete with sound effects, ignition sequences, and combat animations. But here’s the exciting part: thanks to modern maker hardware, microcontrollers, and open-source code, you can create your own custom lightsaber that goes far beyond being a prop.
This article explores how to approach building a lightsaber from a developer’s perspective. We’ll look at the tech stack, hardware options, and coding techniques that bring these legendary weapons to life.
Why Developers Love Building Lightsabers
Creating a custom saber isn’t just about fandom—it’s about solving fun technical challenges:
- Embedded programming: Write code for microcontrollers that control lights, sound, and motion sensors.
- Electronics design: Connect LEDs, batteries, and speakers into a compact hilt.
- Customization: Use software to program blade colors, ignition styles, and sound fonts.
- Maker mindset: Merge code, hardware, and creativity into one cohesive project.
For developers who enjoy blending hobby projects with practical skills, lightsaber building is a perfect playground.
Core Components of a Custom Lightsaber
When you set out to create your own custom lightsaber, here are the main elements you’ll be working with:
Microcontroller
- Popular choices: Arduino, ESP32, STM32, or Proffieboard.
- Handles LED animations, sound playback, and motion detection.
LED Blade
- Baselit Blade: A single LED in the hilt, simpler but less realistic.
- Neopixel Blade: Addressable LED strips running through the blade, allowing advanced ignition effects, flickers, and color shifts.
Sound System
- A small speaker connected to your microcontroller.
- Plays swing sounds, ignition, and clash effects.
Power Source
- Rechargeable lithium-ion battery (typically 18650).
- Must balance brightness and battery life.
Sensors
- Gyroscope or accelerometer for detecting motion (swings, clashes, stabs).
Hilt
- The body of your saber. Can be 3D-printed, CNC-machined, or purchased as a modular hilt kit.
Coding Your Lightsaber
The most rewarding part of building is when your code brings the saber to life. Let’s look at the coding side:
Blade Ignition Sequence
Using a Neopixel strip, you can write an animation that lights the blade from hilt to tip. For example, in Arduino code:
for(int i = 0; i < NUM_LEDS; i++) {

    leds[i] = CHSV(160, 255, 255); // Blue blade

    FastLED.show();

    delay(20); // ignition speed

}
This simple loop creates a smooth ignition effect. Retraction is just the reverse.
Swing and Clash Detection
Using an MPU6050 gyroscope, you can detect blade motion:
if(abs(gyroX) > SWING_THRESHOLD) {

   playSound("swing.wav");

}

if(abs(accelY) > CLASH_THRESHOLD) {

   playSound("clash.wav");

   flashBlade();

}
Here, swings trigger a sound font, and clashes trigger both sound and a blade flash.
Custom Profiles
A great feature when you create your own custom lightsaber is having multiple blade profiles. You can store these on an SD card and cycle through them:
- Blue Jedi Guardian blade
- Red Sith blade with unstable flicker
- White blade inspired by Ahsoka Tano
- Yellow Sentinel blade
Your code can map button presses or gestures to cycle through profiles dynamically.
Advanced Features Developers Add
Once you master the basics, you can push your lightsaber project even further:
- Gesture Controls: Twist to ignite, push forward to retract.
- Bluetooth Integration: Control blade colors from a mobile app.
- Reactive Effects: Blaster bolt deflection, tip drag scorch effects.
- Crystal Chamber: Secondary LED animations for Kyber crystal displays inside the hilt.
- Voice Integration: Link with assistants or add custom voice lines.
The possibilities are limited only by your imagination and how much you want to tinker with code.
Tools and Skills You’ll Need
- Programming: Familiarity with Arduino IDE, C++, or embedded programming.
- Electronics: Basic soldering skills to connect LEDs, sensors, and soundboards.
- Maker Tools: 3D printer or machining access for hilts (optional if buying premade).
- Sound Editing: To create custom sound fonts.
Why Build Instead of Buy?
Sure, you can purchase high-end sabers, but building your own gives you:
- Full control over design and features.
- A project that strengthens your coding and hardware skills.
- The pride of saying, “I built this lightsaber myself.”
For developers, it’s the ultimate fusion of fandom and technology.
Legacy of Custom Lightsabers in the Developer Community
Every Jedi in Star Wars undergoes the rite of forging their own saber. For fans who code, solder, and design, creating a lightsaber is a modern echo of that same ritual. The maker and developer community has turned lightsaber building into a thriving ecosystem of open-source projects, tutorials, and collaborations.
When you create your own custom lightsaber, you’re not just crafting a prop; you’re writing your own story, blending code and creativity into a living tribute to the galaxy far, far away.
May the Force (and your compiler) be with you.


