Quick Repair of Engraving Tools: Simple and Practical Solutions
As you enjoy your carving creations, you’ll inevitably encounter damaged tools. Don’t doubt your skills; even the most meticulous sculptors are bound to experience tool damage. Damaged tools not only hinder your efficiency but can also compromise the quality of your work. But don’t worry! This article will provide a quick guide to repairing and remedying your carving tools, helping you use simple methods and techniques to quickly restore your tools to working order.
Understanding Common Types of Engraving Tool Damage
Before you start fixing anything, it’s important to identify the issue. Different types of damage require different solutions.
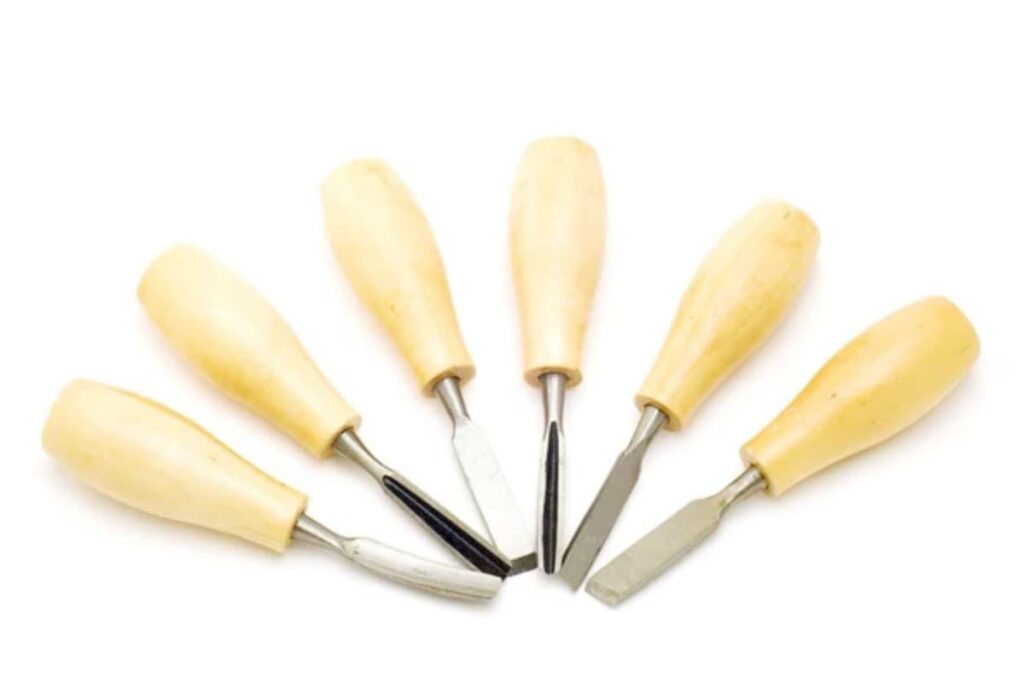
1. Blunt or Broken Blade
This is the most common problem among carving enthusiasts. Frequent use or cutting harder materials can dull the blade over time. Applying too much pressure or carving at an incorrect angle may even cause the edge to chip.
2. Loose or Broken Handle
After prolonged use, wooden or plastic handles may loosen due to thermal expansion, contraction, or impact. A broken handle not only feels unstable but can also pose safety risks.
3. Rusted Metal Parts
If your engraving tools are exposed to moisture or not properly dried after cleaning, oxidation will soon appear. Rust reduces smoothness and increases cutting resistance.
4. Loose or Missing Screws
Combination-type engraving tools depend heavily on screw tightness for precision. Loose screws lead to wobbling tool heads, which compromise accuracy.
By identifying the exact issue, you can apply the right repair method instead of fixing the wrong part.
Quick Repair Methods for Engraving Tools
(1) Blunt or Slightly Broken Blade
Sharpen with a Whetstone: Hold the engraving tool at a 45° angle and move it steadily along the whetstone in one direction. Repeat until the blade regains its sharpness.
Use a Sharpening Rod: For mild dullness, a sharpening rod is sufficient for touch-ups—quick, convenient, and ideal for daily maintenance.
Replace the Blade: If the edge is severely chipped or deformed, replacement is safer than continued use.
Tip: Add a few drops of water or sharpening oil to the stone before sharpening to reduce heat and extend the tool’s life.
(2) Loose or Broken Handle
Tighten or Glue It: Slightly loose handles can be stabilized using screws or strong adhesive.
Replace When Necessary: If the break occurs at a stress point, replacing the handle is the safest long-term fix.
Tip: After repair, sand the joint smoothly and apply a thin coat of waterproof varnish for durability and moisture protection.
(3) Rusted Metal Components
Light Rust: Rub gently with steel wool or fine sandpaper, then wipe clean and apply machine oil or anti-rust oil.
Severe Rust: Soak the tool in white vinegar or a rust-removal solution for about two hours, then dry thoroughly.
Tip: Always ensure your engraving tools are completely dry before storage—especially around the joints, where moisture tends to linger.
(4) Loose or Missing Screws
Regular Tightening: Make it a habit to check and tighten screws before and after each use.
Use Thread Glue: A small drop of anti-loosening adhesive helps prevent frequent loosening due to vibration.
Tip: Avoid over-tightening to prevent stripping the threads or damaging the handle structure.
Add Unique Patterns to Your Solid Wood Cabinet
Once your engraving tool are back in shape, why not put them to good use with a small, rewarding project—adding decorative patterns to a solid wood storage cabinet?
This project not only refines your engraving technique but also transforms an ordinary piece of furniture into a personalized work of art. You can go for minimalist geometric lines, vintage botanical motifs, or even carved lettering for a personal touch.
Steps and Techniques:
Design the Pattern: Start by sketching your desired design on paper, confirming the placement and proportions.
- Outline the Shape: Lightly trace the pattern onto the wood surface with a pencil, keeping your lines smooth and natural.
- Engrave Carefully: Use your engraving tools to carve along the wood grain, cutting shallow and steady to maintain precision.
- Polish and Finish: Once carving is complete, sand the edges lightly and apply varnish or wood wax for a smooth finish.
- Tip: Practice on scrap wood first to get a feel for the engraving tool’s pressure and angle. Once you’re confident, move on to your actual cabinet.
By doing so, you’ll not only improve your craftsmanship but also create a one-of-a-kind home art piece.
Daily Maintenance and Care for Engraving Tools
The condition of your engraving tools directly affects your creative experience. Regular maintenance minimizes repair needs and keeps your tools performing at their best.
- Inspect Regularly: Check blade sharpness, handle stability, and screw tightness before and after use.
- Keep Them Dry: Wipe off any moisture after carving and store in a dry environment.
- Organize Properly: Store carving knives and chisels separately to prevent blade collisions.
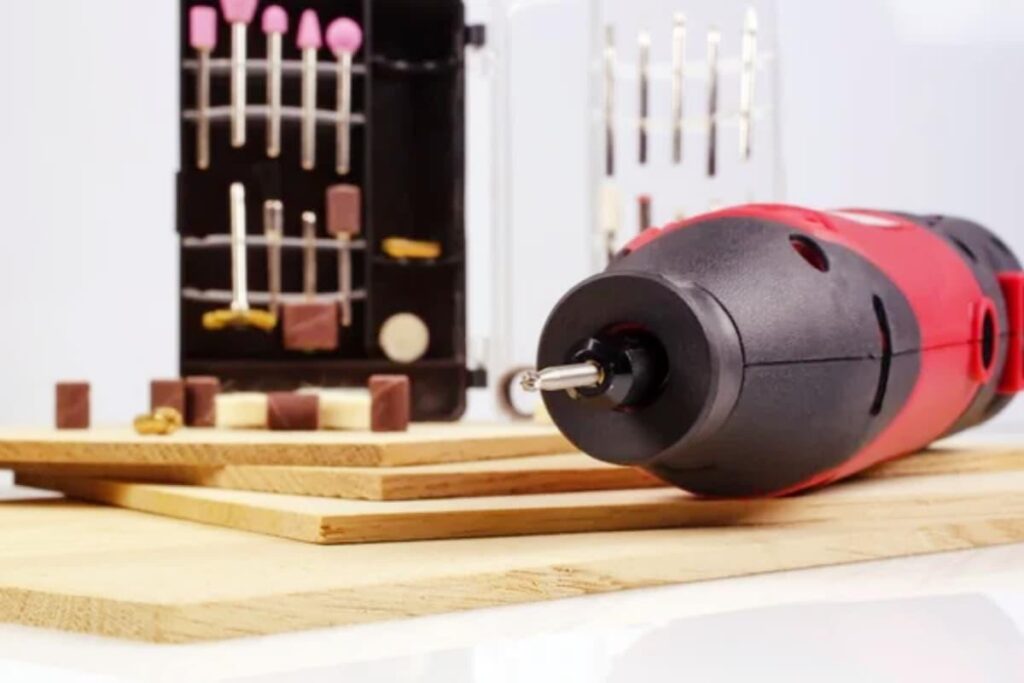
- Prepare a Quick Repair Kit: Keep a small kit with essentials—whetstone, screwdriver, glue, and anti-rust oil—for quick on-site fixes.
If you carve frequently, consider investing in a high-quality set of engraving tools. They are not only sharper and more durable but also reduce wear and the need for constant maintenance, allowing you to focus fully on your creativity.
Conclusion
Damage to your engraving tools isn’t the end of the world. With proper repair and maintenance methods, you can quickly restore them to working condition and continue your creative journey.
By developing habits of regular inspection, careful handling, and correct storage, your engraving tools will remain reliable companions for years to come.
Whether you’re a beginner or an experienced craftsman, this engraving tool quick repair and care guide will help you solve everyday problems efficiently and carve with confidence and precision.